
You are reading: Six Ways To Manage Slippery Floors
07 September 2022
8min read time
Brooke Payne
Six Ways To Manage Slippery Floors
Share:
Key Insights
- Use Adequate Matting: Place large, absorbent mats at entrances to dry visitors' shoes and reduce slip risks. Ensure mats are long enough to capture several steps and choose mats with low edges to minimize tripping hazards.
- Optimise Cleaning Methods: Switch from traditional mopping to mechanical floor scrubbers like the i-mop, which clean floors faster and reduce chemical residue, thereby lowering slip hazards.
- Test and Treat Slip Risks: Regularly test floor slip resistance using devices like the i-know Slip Alert. If floors remain slippery, consider professional anti-slip treatments, such as grit applications or floor etching, to enhance traction.
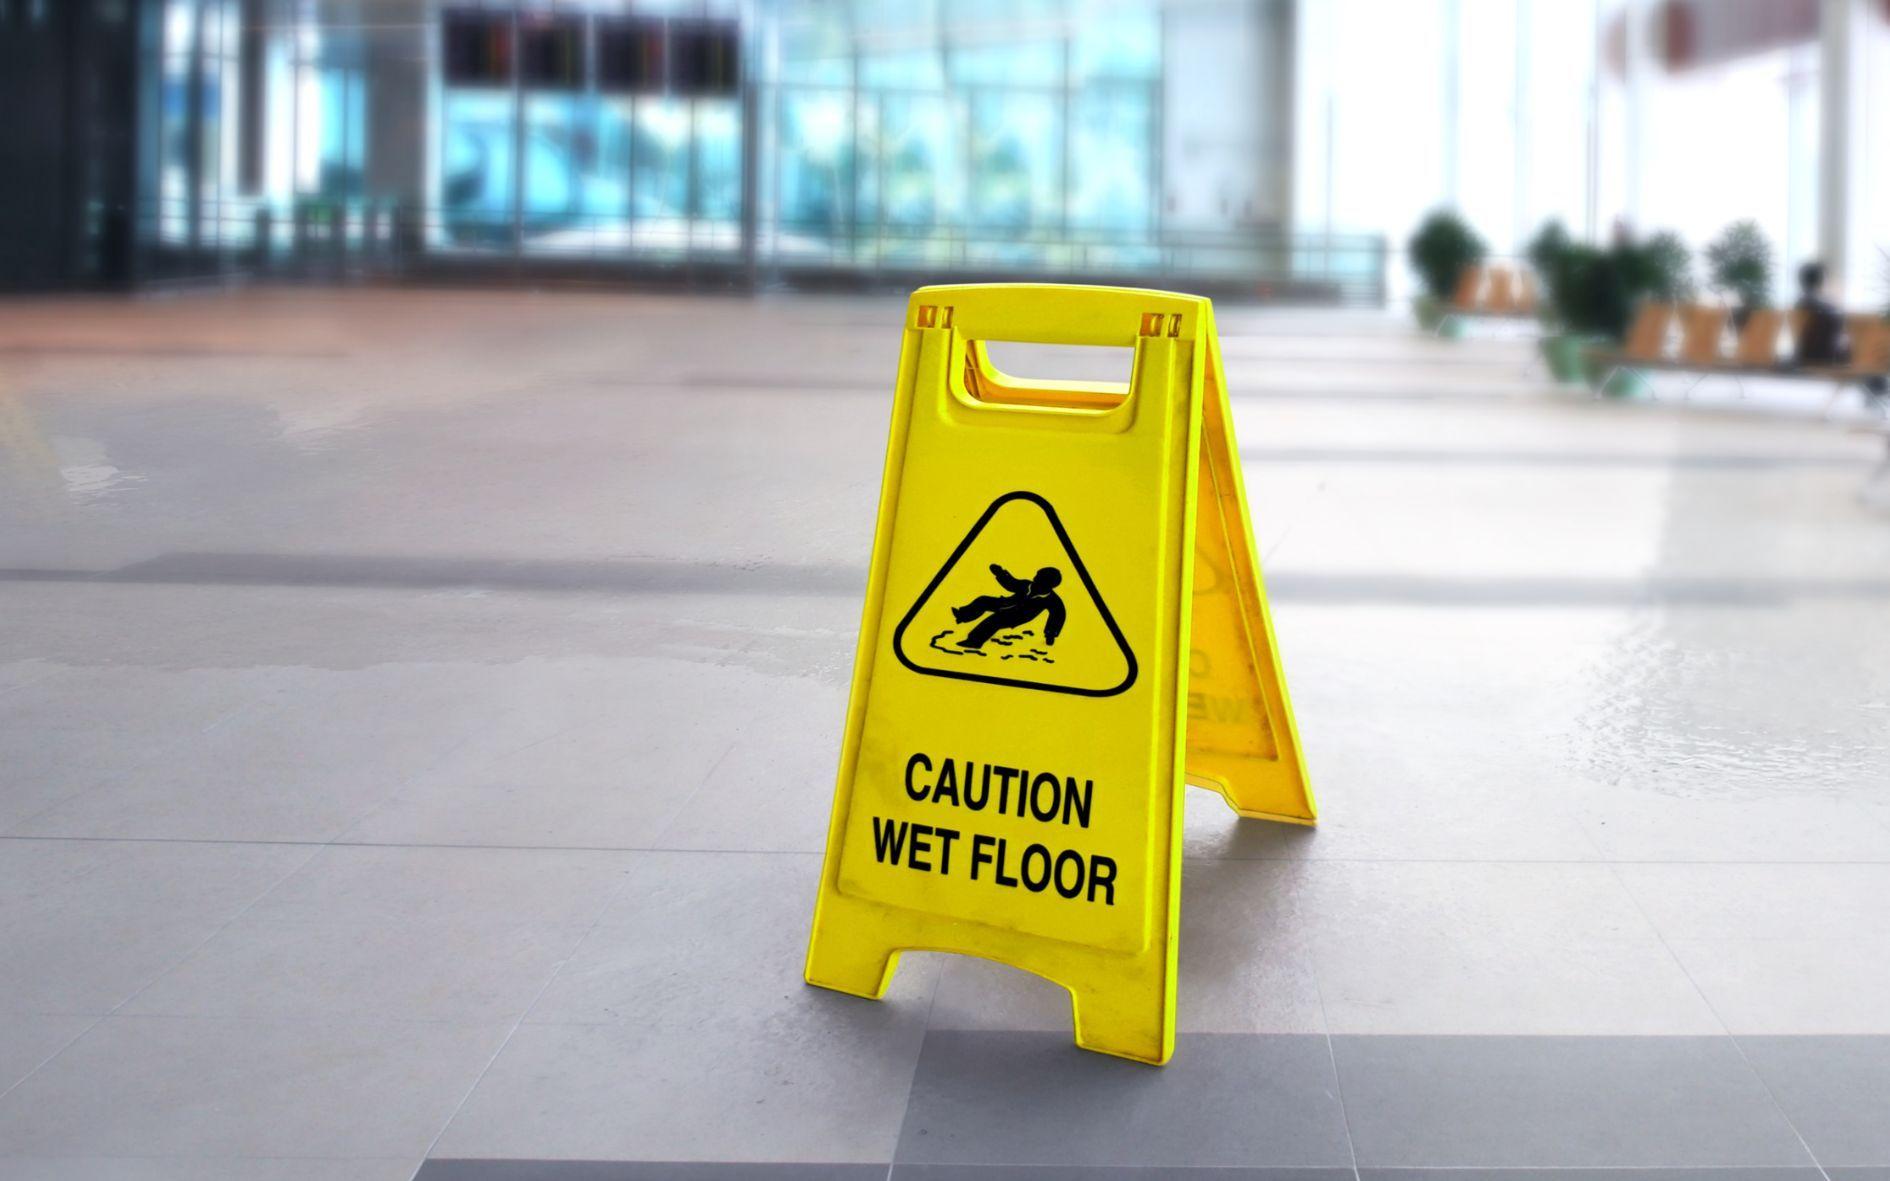
Slippery floors can be a real hazard in your work place or home so it's important to know the best ways to keep your floors safe. See our top 6 safety recommendations below!
Use matting in areas prone to wet traffic
Wet floors are almost always more slippery than dry. A well-placed absorbent mat at building entrances will help ensure that shoe soles are dry before reaching hard floors.
Make sure entrance mats are large enough to adequately dry the soles of visitors' feet. For example, a 90cm x 150cm mat at an entrance will at best capture 2 footsteps of each shoe (likely less). This is nowhere near enough to keep people safe.
Aim for your mat to be large enough to capture six adult steps. The average human step is 70-75cm, which means that a 4-5 metre-long mat should do the trick.
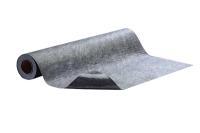
Having a mat this long is not always practical due to limited space. In these cases, or where you have irregular shaped entrances, a joinable matting solution such as the i-matt may help. These adhesive backed mats can be cut to shape and joined to fit any entrance or walkway layout.
Another factor to consider in your matting purchase is the absorbency of the mat. A good quality mat will absorb moisture away from the soles of shoes, keeping the shoe contact surface dry and safe, even with high moisture levels.

If you have matting, check the edges don’t trip you up
Mats are great at removing moisture from the bottom of shoes and reducing slip risk, but can sometimes actually increase the trip risk hazard!
There are 2 things to look out for:
1. Avoid mats with a high edge profile
Carpet type mats can have an edge profile that is well over 5mm high, and sometimes the higher the mat quality the thicker it is.
The thicker the edge profile, the more likely someone will trip on it at some stage. Do your research. At 3-4mm you shouldn’t have issues. 5mm or more may cause trip issues.
2. Avoid rubber backed mats where edges ripple over time
You know the ones – mats with poor quality rubber edging which perish and ripple over time, causing some parts of the mat edging to sit off the ground. These sections are a high trip risk hazard.
An immediate solution to both these safety issues is to use an adhesive backed mat such as the i-matt which will stick to the floor at the edges. The i-matt also has a very low profile of 3mm from the ground, which means it requires no additional edging and presents virtually no trip hazard.

Use automatically dosed cleaning chemical dispensing
Ever heard of the “glug-glug” method of chemical diluting cleaning products?
Without a chemical dilution station on site, cleaning staff are forced to guess the correct amount of chemical to pour into their mop bucket. Your floor could end up a residue-laden chemical mess which can create a slippery layer of residue on the floor…aka another slip hazard.
You don’t want this happening in a facility you are responsible for!
Worst of all, you may not know how slippery your floor is until it gets wet. Add some water from a dropped water bottle or some wet feet to all that detergent residue and presto; slippery slide anyone?
One of the best ways to prevent the buildup of chemical residue on your floors is to use chemical dilution stations. There is a wide range of these systems available from most leading distributors.
The good news? Often they may be available at no charge as part of the supply of chemicals.
Optimise floor cleaning processes
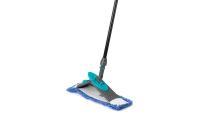
Probably the single most important thing you can do to help reduce slip risk hazard is to get rid of your mop and bucket.
Mopping has been the standard for cleaning small floor areas for decades.
The problem? Mopping creates slip hazards and leaves more chemical residue on the floor than mechanical floor cleaning equipment.
When you mop a floor with a conventional string mop, it stays wet for 5 – 15 minutes, depending on atmospheric conditions. This time is known as hazard time. You can (and should) mitigate risk with signage, however there's still a risk to personnel.
The solution to reduce floor cleaning hazard time is to use mechanical floor cleaning equipment, commonly known as autoscrubbers. An autoscrubber applies cleaning solution to the floor, scrubs, then vacuums the dirty solution up leaving the floor dry in 30-60 seconds.
Autoscrubbing reduces hazard time by 90% compared to mopping, and it’s the preferred method in Australia for commercial cleaning where safety standards are critical.
So why aren’t autoscrubbers used to clean all floors?
Until recent years autoscrubbers were too large and bulky to clean small areas and around obstacles such as furniture in a cafeteria. This is the main reason that around 70% of floors are still mopped.
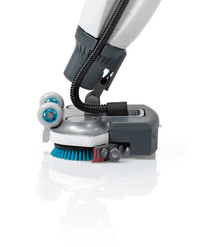
The development of the i-mop , a “vertically-designed” autoscrubber, has removed this limitation. The i-mop is so manoeuvrable it can clean basically anywhere you can mop.
Thanks to the i-mop there is literally no reason to still be manually mopping any floors. The floor cleaning process can be fully optimised, ticking another box in your floor slip risk reduction.
Read more on why are steam mops flawed.
Know how slippery your floor is when wet
How do you know if a floor is safe when wet? You need to test it with a 'slip-test'.
There are 2 ways to do this; do it yourself, or have it tested by a certified organisation. Depending on your circumstances, you may need to do both.
1. Have a professionally certified organisation check the slip rating of your wet floor.
In Australia and New Zealand, for legal recognition of a floor slip test you must have a slip test completed by a slip testing organisation certified by NATA (National Association of Testing Authorities).
A NATA certified floor slip testing organisation will perform tests according to the AS/NZS 4663 standard, which sets out the requirements for floor slip testing such as the number of tests required in an area.
The Pendulum slip tester mimics the action of the sole of a shoe scraping across the floor and records a slip rating. The higher the number, the less the potential for slip. A Pendulum slip value of >36 equates to a one in a million chance of a slip occurring.
Using the pendulum slip testing device, an average reading of your floors' slip rating will be determined. Different areas – such as those with different floor types or ramped floors – should be tested separately.
2. Self-checking the slip level of your wet floor
In some applications it may be helpful for you to perform your own slip tests – if you are responsible for the safety of your visitors, maintaining an ongoing knowledge of the safety levels of the facility helps reduce risk.
Remember that a floor's slip rating can vary over time and in different conditions. Testing once and getting a safe reading doesn't mean the floor is safe in all conditions.
The Pendulum slip testing device has traditionally been the accepted method for slip testing. This is a very reliable device, but is very expensive, heavy and bulky, slow to set up, and requires an experienced operator to ensure consistent readings.
The new i-know Slip Alert device has been developed to replicate the operation and readings of the TRL Pendulum device, in a much easier to use and more cost-effective package. For these reasons the i-know Slip Alert slip tester is fast becoming a preferred option for testing the slip resistance of wet floors.
Importantly, the readings obtained from the i-know Slip Alert device are against the same scale as the TRL Pendulum testing device. Extensive tests show very high reading consistency between the two.
The i-know Slip Alert device is simple to operate even for untrained operators. It consists of a rechargeable testing device and a ramp. The Slip Alert device is pulled back up to the top of the ramp, where the activation switch on the back of the device is reset. A light indicates its readiness for operation and the device is then released, rolls down the ramp and comes quickly to a halt on the floor.
The reading on the screen of the slip alert gives the floor's slip rating, which can be assessed against a chart provided on the i-know Slip Alert ramp. Regular floor slip testing allows you to manage risk and safety by consistently ensuring floors are maintaining safe levels of slip resistance. It also allows you to manage risk and safety by consistently ensuring floors are maintaining safe levels of slip resistance.
6. Use anti-slip treatments
You’ve done all the above and your floor is still slippery, what now? You might need to consider an anti-slip treatment for your floors.
Anti-slip treatments are probably best left to the professionals, rather than as a DIY project, unless you know what you're doing.
Most anti-slip treatments fall into one of two categories:
- Floor etching. These treatments will typically be acid based and will remove a tiny layer of the floor surface, making it uneven and increasing the grip level of the floor. For this reason this technique is generally less preferable to grit treatments.
- Grit treatments. These treatments involve applying a layer of grit or polymer beads to your floor which is then coated with sealer, locking these grippy particles to the surface.
It's important to note that adding an anti-slip treatment to your floor will make it more difficult to clean.

Other People Ask: FAQ's
How to keep floors from being slippery?
Clean Floors Regularly: Maintain cleanliness to reduce slipperiness by regularly cleaning your floors.
Place Door Mats: Use door mats at entrances to trap moisture and dirt before it reaches your floors.
Add Area Rugs: Incorporate area rugs in high-traffic areas to provide extra traction and absorb moisture.
Remove Wax Residue: Eliminate any leftover wax residue from floors as it can make surfaces slippery.
Apply Anti-Slip Treatments: Invest in anti-slip treatments to enhance traction on your floors.
Use Non-Skid Paint: Apply non-skid paint to floors to improve grip and prevent slips.
Install Adhesive Anti-Slip Tiles: Use peel-and-stick anti-slip tiles for an easy, effective way to reduce slipperiness.
Wipe Away Moisture Residue: Ensure that any moisture residue on the floors is promptly cleaned to prevent slipping hazards.
How should floor not be slippery?
Sweep or Vacuum Regularly: Remove dust, dirt, and debris from your floors frequently with a broom or vacuum cleaner.
Clean Your Floors with Care: Use a non-slip mop head and a mild cleaning solution. Avoid using too much water, as excess moisture can make the floor slippery.
How to deal with slippery floor tiles?
Add Rugs or Fabric Runners: Place rugs or fabric runners in areas with slippery tile to reduce slip risks. Carpets with rubber backing can grip the floor, preventing serious slips and falls. This solution is quick and easy but requires regular cleaning, especially in high-traffic areas. For homes and businesses in Australia, consider non-slip mats specifically designed for tiled surfaces, which are widely available and effective at reducing accidents.
How can the hazard of slippery floors be reduced?
To reduce the risk of injury, consider implementing these controls:
- Install Slip-Resistant Floors: Choose flooring materials designed to prevent slips.
- Use Slip-Resistant Mats: Place mats in high-risk areas to enhance grip and prevent slipping.
- Apply Acid Etching, Adhesive Strips, or Slip-Resistant Paint: Enhance surface traction with these treatments to improve safety.
What makes a floor really slippery?
Excessive Wax or Polish: Using too much wood polish or the wrong type of wax can make hardwood floors slippery. Wetness: Spills or mopping can quickly turn your hardwood floor into a slip hazard.
References
https://sparklerental.com/how-to-get-rid-of-slippery-floors/
https://www.shelteringarms.com/rehablog/6-safety-tips-for-walking-on-slippery-surfaces/
https://www.hsa.ie/eng/topics/slips_trips_falls/high-risk_areas/slippery_surfaces/
Products Featured Inside this Article
Media and Insights
Join the movement that's changing what clean means.
Be part of a cleaner world. Get a live demo at a time that suits you.
Book a Demo